Monday, June 26, 2006

Basic Animation

I now have basic animation in and working, both skinned and ridged body will work in the system. I used the D3DX animation system. It is has all the features I need, but the way it works is kind of warped. I have implemented three different skinned animation systems now and this is by far the least efficient I have seen. It also requires the most work to use, probably not a coincidence. But it is much faster the implementing an animation system myself from scratch.

I’m going to have to hack my export of the .x files to add in more animations. By default the exporter only exports a single animation even though the file format support multiple. Seems like it will be easy enough to write an app to do the combining, it will just be a hassle to use every time I want to export something.

Now I just need to animate my test character and get character driven animations in.
Friday, June 23, 2006

Work Continues

Work has been fairly slow as I have been teaching myself how to skin characters in Maya. This knowledge will be used to generate animated charachters which hopefully will be comming soon.

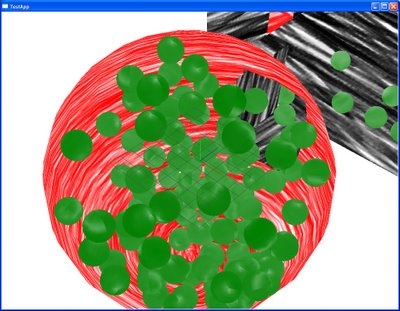
I also tried a colored lighing experiment which created one of the ugliest scenes I have ever seen. I'm going for a game drawn in crayon by a 6 year old. With the lighting on it looked more like a 2 year old with random collers appearing everywhere. I do not belive I will be able to come up with a convincing way to do colored lighting. Still I'll keep thinking about it.

Ohh yeah and I've been playing Kingdom Hearts which has not been helping me get work done...

Wednesday, June 14, 2006

Improved shading model

I have not worked on this a whole lot due to a book. My wife finished The Da Vinci Code and I figured I see if I liked it by reading the first few pages….

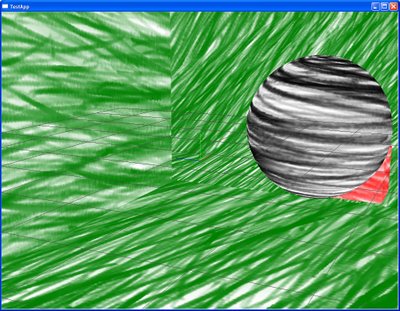
Anyway I did at least get something done, I added improved shading to the crayon shader. It can now handle 2 different crayon colors and map them to different light intensities. This gives you the look of layered passes of different colored crayons to generate the shadows. If my sample texture were a little less black and white you could probably see the effect better, but it is still much improved.

I also simplified the texture format to only need two textures to do the eight intensity channels for the crayon. Each channel stores a different intensity now so I can get 4 per texture.


Wednesday, June 07, 2006

ODE is cool.


I now have physics. ODE is a very cool little piece of code, I’m going to need to tweak the settings for a while but initial integration took about 3 hours. Most of that was taking my data and getting into a useable format for ODE.

Thank you Mr. Russel Smith. You saved me a lot of time.

Sunday, June 04, 2006

Portal Render

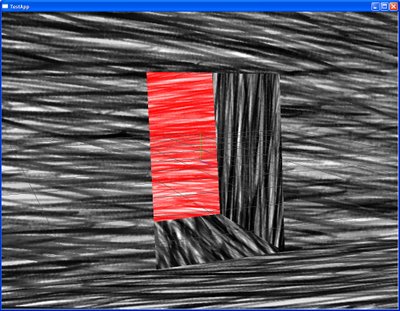
This went a lot faster than I anticipated. After a couple of hours I now have a portal render capable of handling the scene graph for my game. Well….at least the skeleton or the portal system anyway. It only handle portal clipping between rooms. It does not clip the contents of the next room other than clipping out further portals in the next room.

Here is a screen shot of looking through a portal into a hallway through another portal into another room.


Saturday, June 03, 2006

Crayon Renderer Test

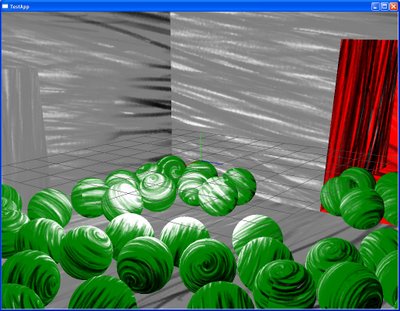
Here is my current pet project. I wanted to see if I could make a game that looked like it was drawn by a 6 year old, essentially a crayon renderer. I think my test case turned out pretty well.

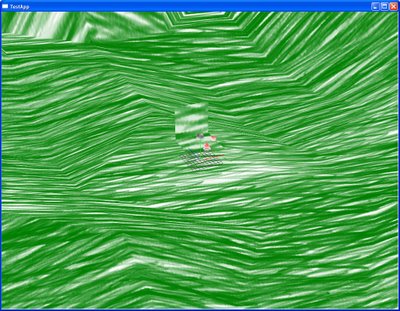
The challeng is to keep the crayon lines the same size on screen regardless of the distance from the object. At first I though I could trick the mip mapping hardware to do this for me using a mip map that kept the stroke size the same at all mip levels ( a normal mip map would shrink the image). But it turns out doing this generates artifacts on places where the polygons are at steep angles to the camera and causes severe tiling in the distance.. The step angle bug makes the line width of the crayons huge where the polygons are end on with the viewer.

I think I came up with a fairly good solution that was even more memory efficient, although it took two extra texture look ups. I loaded my textures without mip maps and did the mip mapping myself based on only distance. My next mip map down was the same texture as the first instead of using a mip chain, only the texture coordinates needed to be updated to make the texture look twice as large.

Also supported is lighting although it is kind of hard to tell in my test shots.


First Post

Hello all.

This will be my first attempt a running a blog. My goal is to keep the blog updated with projects that I work on in my spare time. Hopefully I can update it at least once a week, we shale see…